
Free on-site gate assessment - hinges, posts, and your LiftMaster or Nice gate operator checked before anything is quoted
The assessment is free and the quote is the invoice.
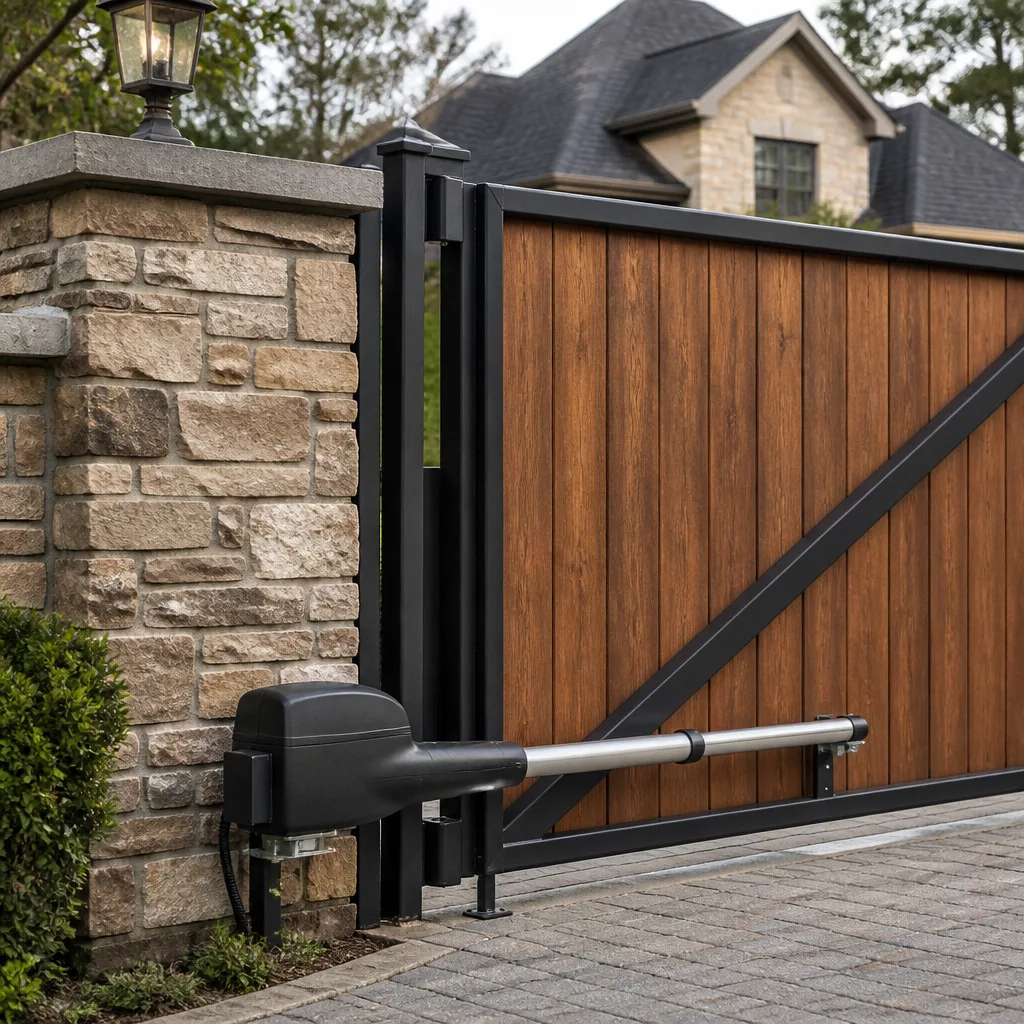
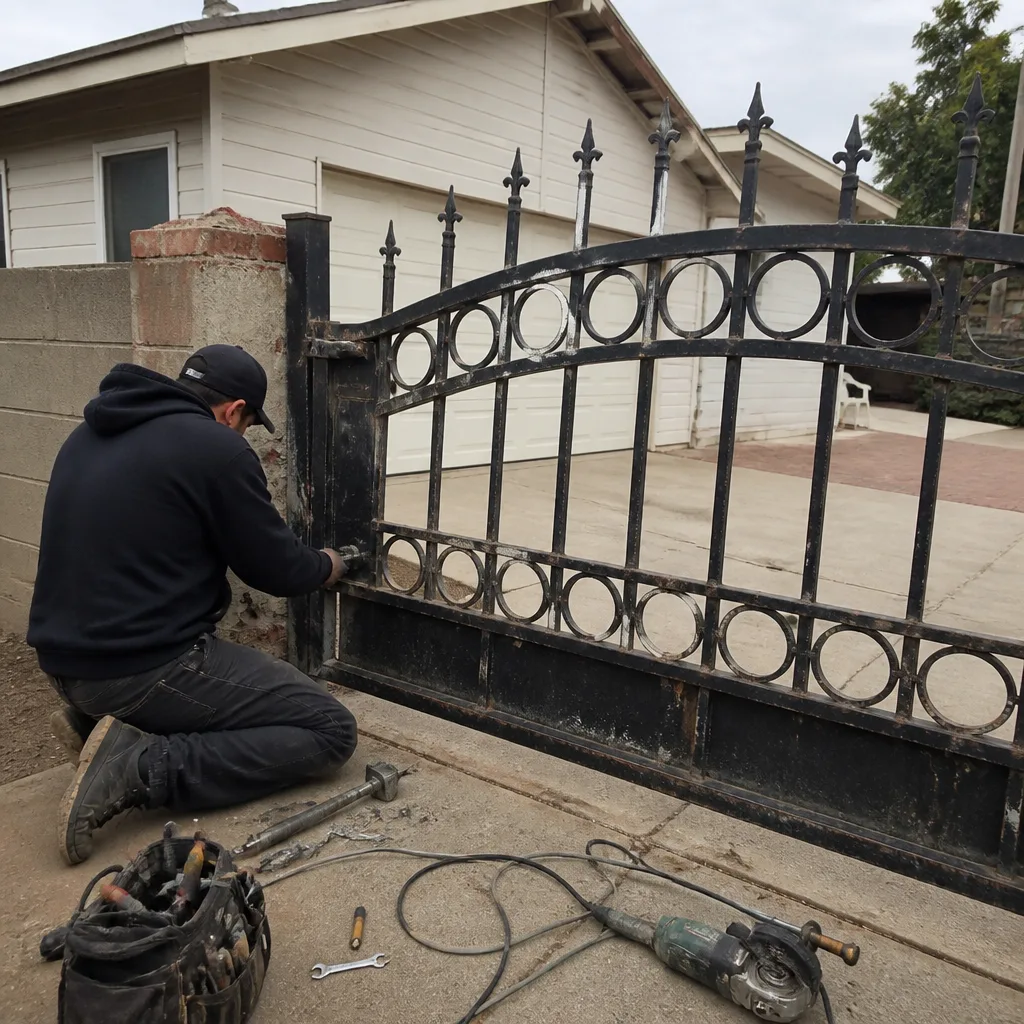 Before
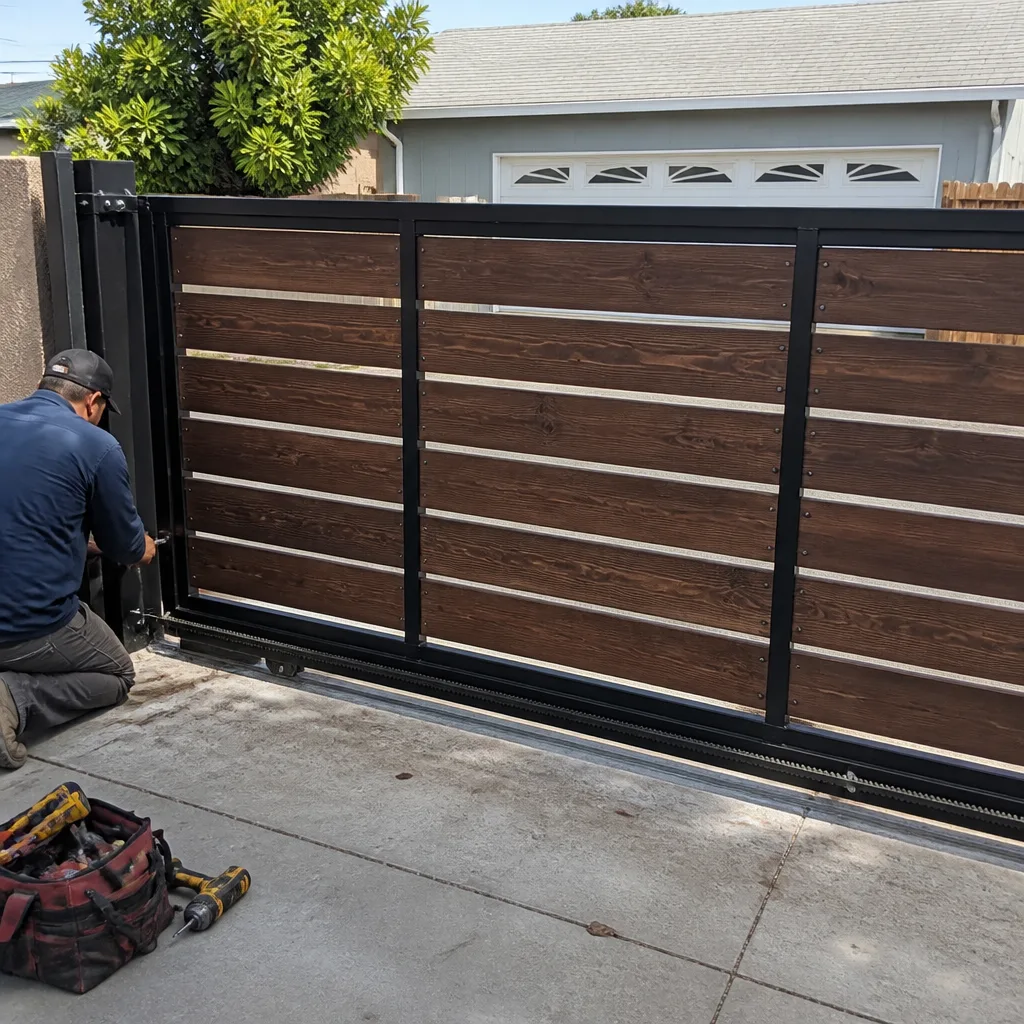 After
After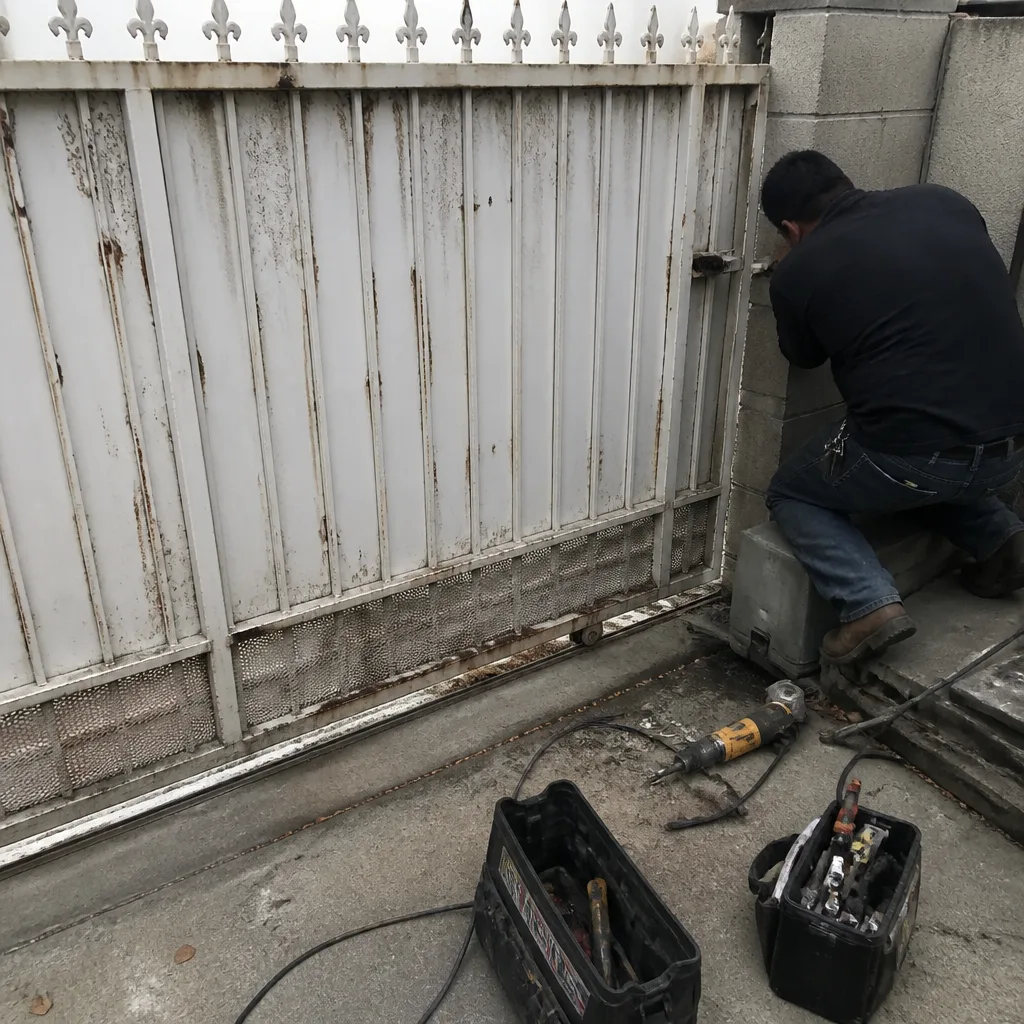 Before
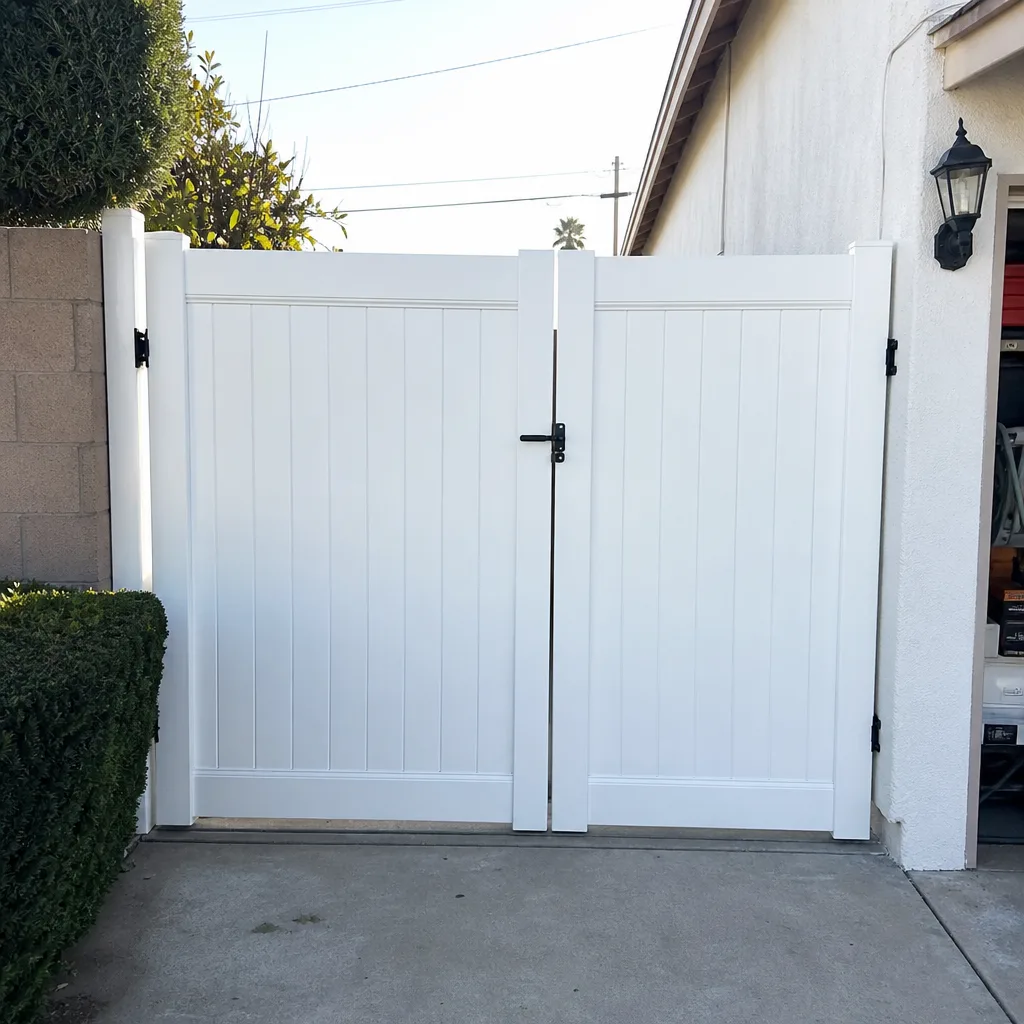 After
After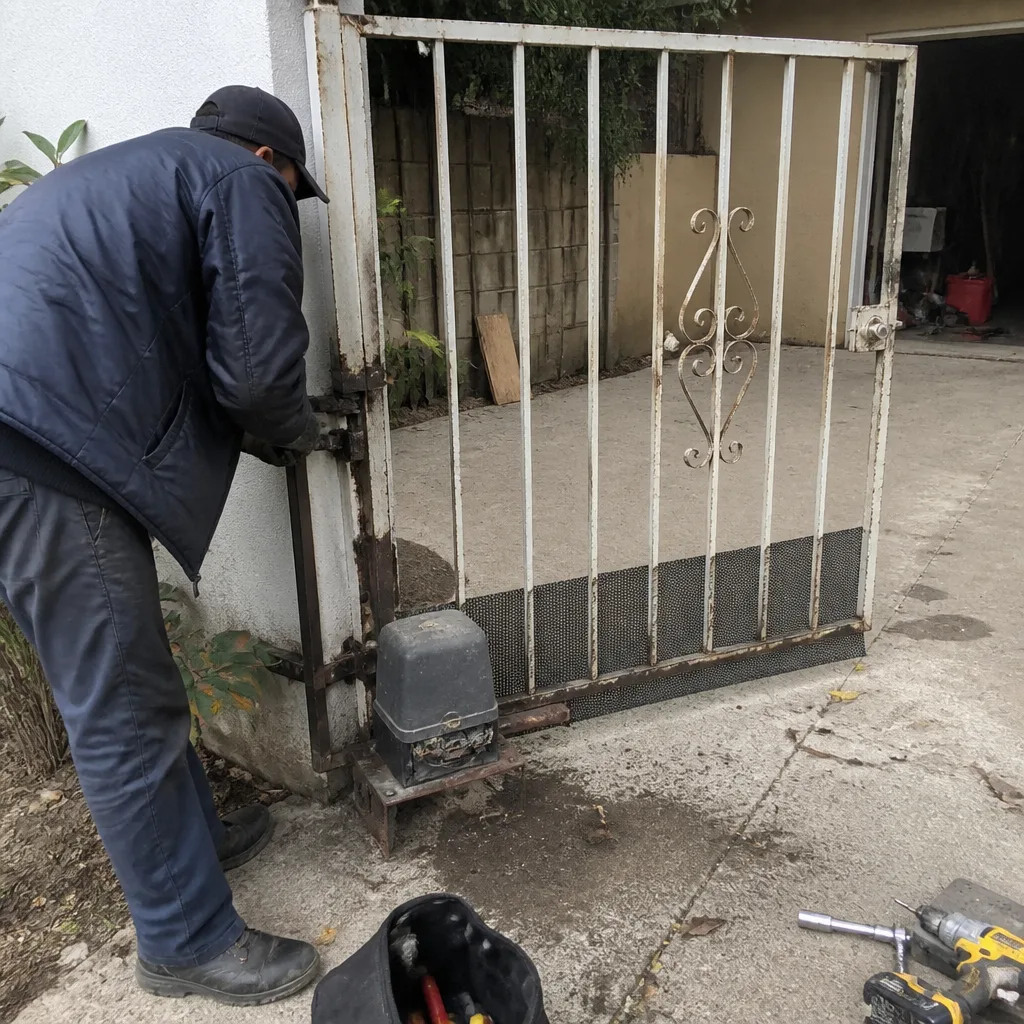 Before
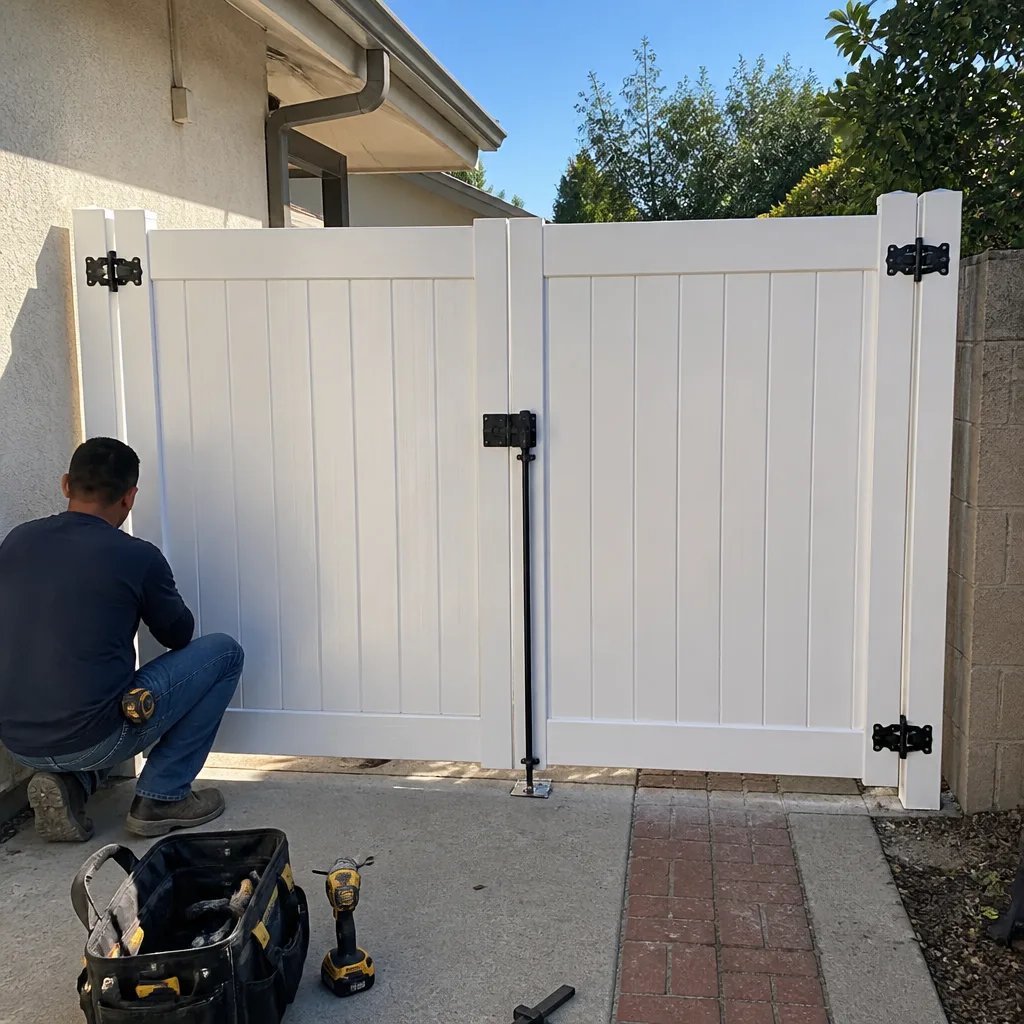 After
AfterMighty Mule Welding & Fabrication: The Garden Grove Owner’s Guide
We stock and install Mighty Mule-compatible weldments and fabricated gate hardware in Garden Grove, with most jobs running between $180 and $420 installed for bracket repairs, weldments, and fabricated replacement arms. If your gate has started sagging, grinding against the post, or binding on the opener’s travel, the bracket or weldment has likely cracked or pulled loose from the gate frame. Most owners find out the hard way: the gate works fine one week, then the opener strains and the gate won’t close the next. Our trucks carry the common Mighty Mule replacement parts and raw steel to fabricate what isn’t stocked, so most Garden Grove repairs are done same-day.
Key Takeaways:
- We service and repair Mighty Mule gates with in-house welding and fabrication, not bolt-on patches that fail again.
- Most Garden Grove Mighty Mule bracket and weldment repairs run $180-$420 installed, agreed before we start.
- We stock common Mighty Mule-compatible hardware and fabricate the rest on-site.
- Every job is covered by our written 90-Day Done Right Promise.
- Call (424) 395-4973 and a live person answers, 24 hours a day.
Which Mighty Mule Models This Applies To
The parts we weld and fabricate fit the full Mighty Mule line common in Garden Grove: FM200, FM350, FM500, MM371W, MM562, MM571W, MM572W, and the newer R4213 and R4313 series. The compatibility gotcha most owners don’t realize is that the mounting bracket bolt pattern changed between the MM series and the newer RB/R-series. The older MM-series brackets use a 4-bolt square pattern with 3-1/2 inch spacing. The newer R-series uses a narrower 3-inch pattern. If someone orders the wrong bracket and forces it, the gate gets a twist in the frame and the weld points crack again within months. We check the label on the control board and measure the bolt pattern before any work starts. That is instruction number one for anyone asking which part they need. The label is on the underside of the control board housing. The bolt spacing is the second check. Between those two, you will know the part. We also commonly see Ghost Controls and LiftMaster gates in the same neighborhoods, but the part we are talking about today is Mighty Mule.
On the OEM versus aftermarket question for Mighty Mule specifically: OEM Mighty Mule brackets are powder-coated stamped steel, usually 11-gauge. The aftermarket equivalent we fabricate in-house is often 10-gauge or heavier, and we zinc-prime before painting. For swing gates under 14 feet, either works. For longer or heavier gates, the fabricated heavier bracket is the better choice, and that is what we recommend. The motor itself is rarely the problem. The steel it mounts to is what fails first.
Signs Your Mighty Mule Welding & Fabrication Is Failing
- The gate sags at the hinge end. This almost always means the bracket welds at the post have started to tear. The gate is literally pulling the bracket away from the post, a little more every day. We see this most often on the west side of Garden Grove where gates face the sun all afternoon, and the heat cycles fatigue the steel faster.
- The opener grinds or strains mid-travel. The arm and the gate are no longer moving in the same plane. The fabricated connection is flexing under load, and the motor is fighting a bind you can’t see from the street.
- You hear a rhythmic clank once per cycle. That is the sound of a cracked weld opening and closing as the gate passes through its travel. One day the clank becomes a snap, and the gate drops onto the drive. Get it looked at before that day.
- The gate drifts closed or open by itself after stopping. A bent or cracked bracket changes the geometry, and the gate settles into the sag. What looks like a motor problem is usually a metal problem.
- Screw holes have wallowed out oval. When the frame hardware gets loose, the bolts pull through in a slow oval. Retightening doesn’t fix this. The metal around the holes needs to be built back up with weld and re-drilled.
Replacement Cost & What’s Included
A typical Mighty Mule bracket or weldment repair in Garden Grove runs between $180 and $420 installed, with the job quoted as a line-item breakdown before we touch the gate. The low end covers a single bracket repair with the gate still hanging and the weld area accessible. The high end covers a full post-side re-fabrication with the gate dropped, the hinge points rebuilt, and the opener arm aligned and retuned. What drives the price: whether the gate needs to come off its hinges, the thickness of the steel we are welding to, and how far the damage has traveled. Parts are quoted at our cost mark-up plus labor. The price you approve is the price you pay. There is no change-order shell game. And for a limited stretch, we are taking $50 off any repair over $250, and we have a standing 5% senior and veteran discount.
Every Mighty Mule weld or fabrication job we complete in Garden Grove is covered by our written 90-Day Done Right Promise, the Keystone Standard. If the repair fails in the first 90 days, we come back and make it right. No paperwork, no argument, no bill. Victor Salinas wrote that guarantee into the company’s operating rules because he was tired of hearing about contractors who didn’t honor theirs.
DIY or Call Us?
You can check the obvious things yourself: wobble the gate by hand, watch the pivot points while someone cycles the opener, and mark the bolt heads with a sharpie to see if anything is shifting. That is useful information to have before you call. What you should not do is attempt to weld a bracket while the gate is hanging, especially if the opener is still connected. A gate under load, even a balanced one, stores energy. A weld fails at the worst possible moment, and a 300-pound gate drops faster than anyone can react. We pull the opener’s power, brace the gate, and work with the steel supported. We also know where the pinch points are on every Mighty Mule model we touch, and we do not put hands near the operator arm until the power is confirmed dead. These are not scare tactics. These are the same warnings we give our own guys.
If you are in Garden Grove and the gate is showing any of the signs above, call (424) 395-4973. A live person answers, and we will tell you honestly whether it is a quick fabric job or something better scheduled. Estimates are free.
FAQs
In Garden Grove’s sun and coastal air, the stock Mighty Mule brackets typically last 6 to 9 years before the powder coat fails and the steel starts to fatigue. We commonly see gates that have been up for 12 or 15 years with original hardware that looks fine from the street but is two heat cycles away from letting go. The climate is harder on the metal than people realize. Call (424) 395-4973 for an inspection if your gate is past its tenth year.
A cracked weld can be ground out and re-welded. A bracket that is bent beyond about 10 degrees, or has torn through the bolt holes, is replacement territory. We will tell you which one you have before we start, and the price is settled first. Call us with a photo if you want a ballpark before we come out.
A single bracket or weldment, with the gate still hanging and the area accessible, is typically a one-to-two-hour job. A post-side re-fabrication with the gate dropped and hinge points rebuilt is half a day. Most Garden Grove Mighty Mule repairs are done in a single visit, and we will tell you when you call.
We carry the common MM-series and R-series brackets, plus raw 10-gauge and 11-gauge steel to fabricate what we don’t stock. We also keep Mighty Mule-compatible hardware kits for LiftMaster, Ghost Controls, and DoorKing on the truck, because plenty of Garden Grove driveways have more than one opener brand over the years. Call (424) 395-4973 and we will tell you if we have your part before we roll.
Written by Victor Salinas, Owner, Ironworks Gate Co. at Ironworks Gate Co., serving Garden Grove and nearby areas.